
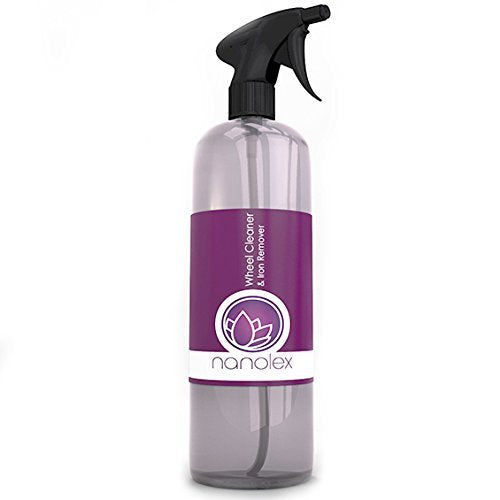
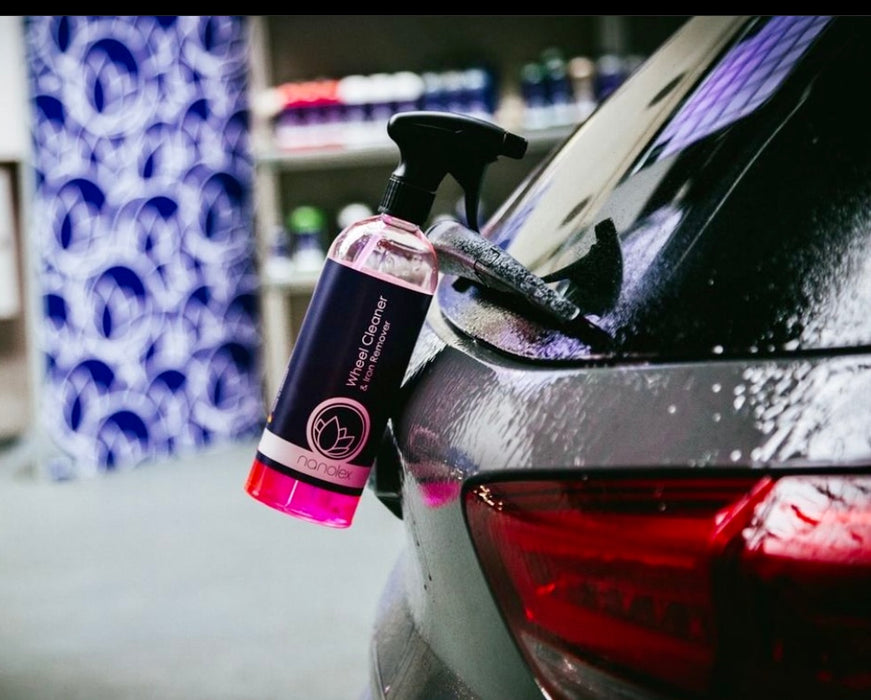
Nanolex Wheel Cleaner and Iron Remover
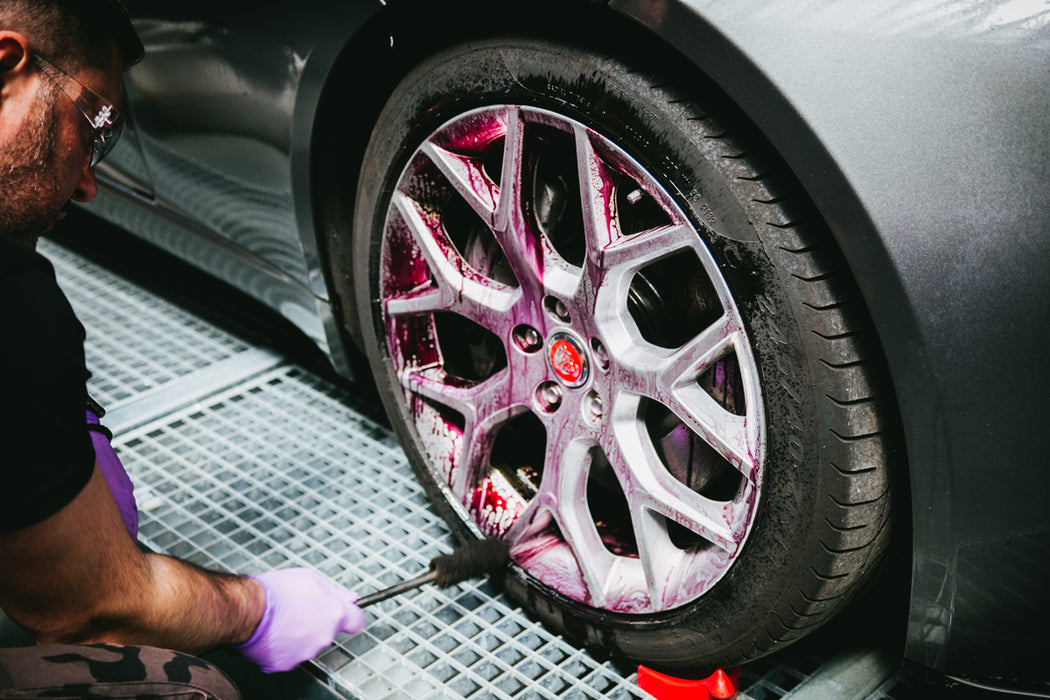
Nanolex Wheel Cleaner and Iron remover is a highly effective and extremely fast-acting on brake dust and fallout. It is less aggressive than traditional acidic wheel cleaners, yet just as powerful. Upon contact with the surface its powerful formulation dissolves all iron and fallout contamination, including harmful brake dust.
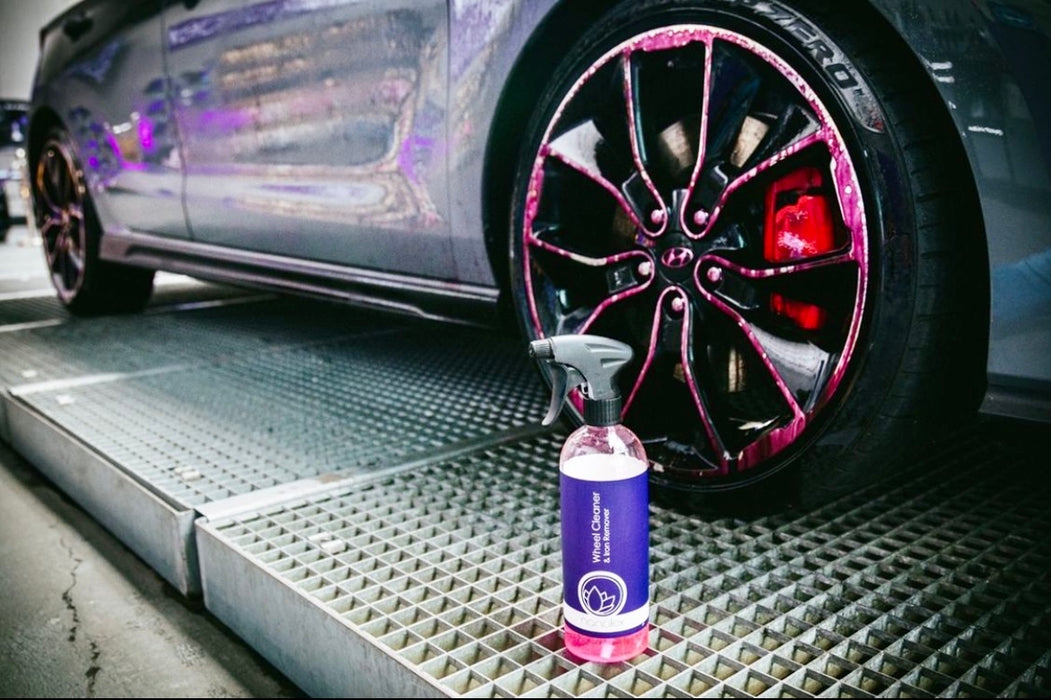
An innovative color change mechanism - which turns the product from clear to red - indicates when the iron particles have been neutralized and can be safely rinsed away. It will also reduces the need to agitate treated surfaces, due to its unique viscous formulation and superior dwell time.
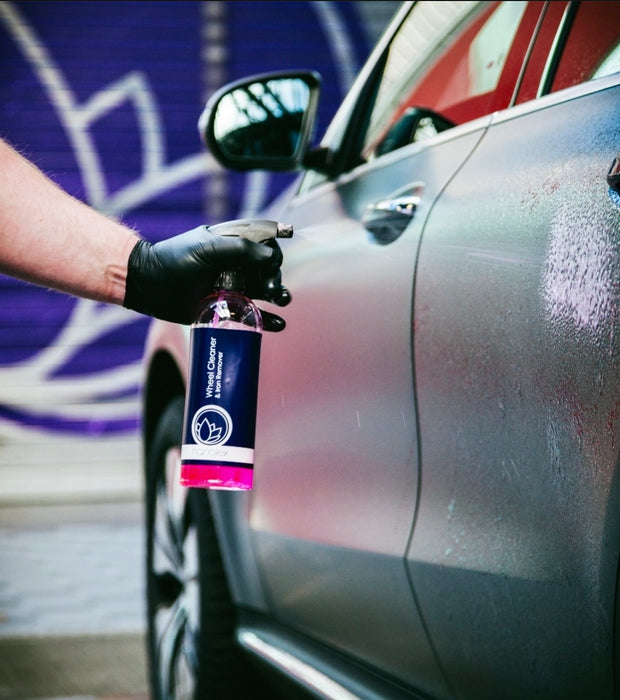
- Works on both wheels and paint
- Safe on clear coated, powder coated, painted wheels and high-performance brakes
- Iron and fallout removal on paint
- Dissolves Stubborn Fallout and Contamination
- Activates on contact with iron and metallic contamination
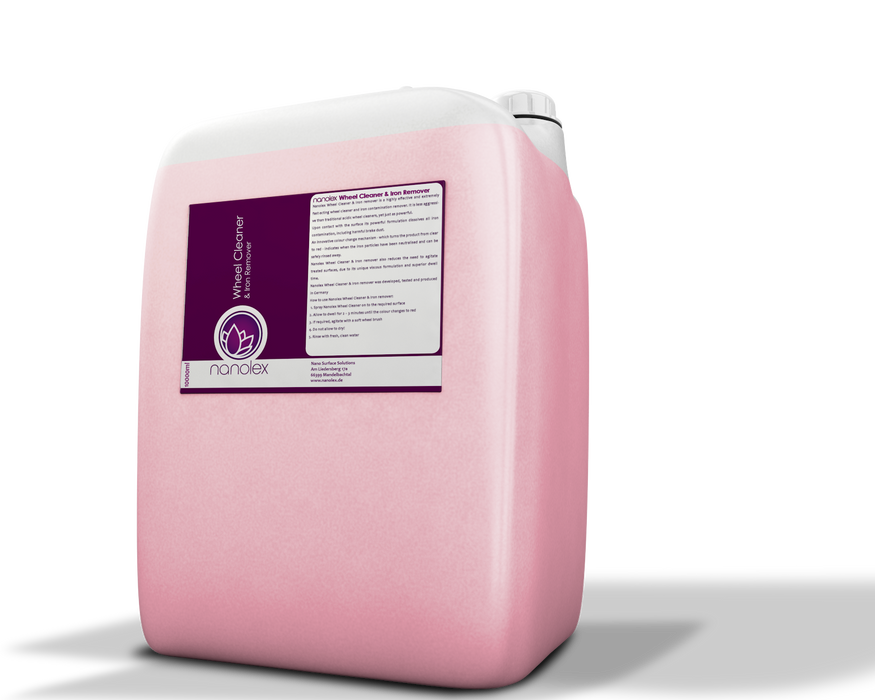
- Made in Germany
Directions:
1. Spray on cool wheels or painted surfaces (avoid direct sunlight)
2. Allow to dwell for 2 – 3 minutes until the color changes to red
3. If required, agitate with a soft wheel brush (for wheels) for paint you can use a clean damp mitt or clean microfiber towel to agitate painted surfaces.
4. Do not allow to dry!
5. Rinse well with clean water